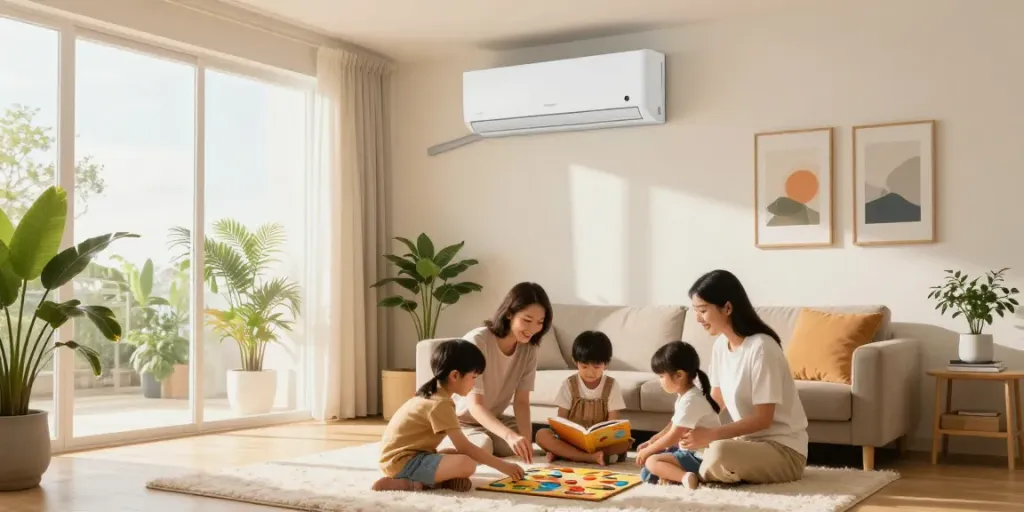
Understanding Mini Split AC Systems
Mini split AC systems have gained popularity in recent years as an efficient and flexible solution for heating and cooling spaces. These ductless systems provide individualized comfort for distinct rooms or zones, making them particularly suitable for both residential and commercial environments. As climate control becomes more advanced, understanding the intricacies of a mini split ac system is key to enhancing home comfort and energy efficiency.
What is a Mini Split AC System?
A mini split AC system, also known as a ductless air conditioning system, consists of two main components: an outdoor compressor unit and one or more indoor air-handling units. This design eliminates the need for ductwork, which is a significant advantage over traditional HVAC systems. The outdoor unit is responsible for cooling or heating the refrigerant, while the indoor units disperse conditioned air throughout the space. Mini split systems can effectively control temperature in individual rooms or zones, allowing for personalized comfort.
Components of a Mini Split System
Understanding the components of a mini split system is essential for any potential buyer or user. The primary parts include:
- Outdoor Unit: Houses the compressor and condenser; this is where heat is absorbed from or dissipated into the outside air.
- Indoor Unit(s): Varying styles are available, including wall-mounted, ceiling-mounted, or floor-mounted units that distribute air throughout each room.
- Refrigerant Lines: Small pipes that connect the indoor units to the outdoor unit, carrying refrigerant between them.
- Remote Control: Most units come with a remote for easy operation and temperature adjustments from anywhere in the room.
- Drain Line: Removes condensation created during the cooling process, ensuring optimal performance and efficiency.
Advantages of Ductless AC Systems
Mini split AC systems offer numerous advantages, making them a popular choice for modern HVAC solutions:
- Energy Efficiency: Their design eliminates energy losses associated with ductwork. Users often see lower energy bills due to the high SEER (Seasonal Energy Efficiency Ratio) ratings.
- Flexible Installation: Because mini splits do not require ducts, they can be installed in various settings, including homes without existing ductwork.
- Individual Zone Control: Each indoor unit can be controlled independently, allowing users to cool or heat only the rooms in use, reducing energy waste.
- Quiet Operation: Mini split systems operate more quietly than traditional HVAC systems, making them ideal for bedrooms and living areas.
Choosing the Right Size Mini Split AC
Selecting the right size mini split AC system is critical to ensuring efficient operation and comfort. An undersized system will struggle to cool or heat a space effectively, while an oversized unit may cycle on and off too frequently, leading to increased energy consumption and discomfort.
Calculating BTU Needs for Different Spaces
To determine the appropriate size, you will need to calculate the cooling or heating BTU (British Thermal Units) required for your space. Factors to consider include:
- Room Size: The square footage of the room directly influences the required BTUs. As a general rule, approximately 20 BTUs per square foot are recommended.
- Ceiling Height: Higher ceilings increase the volume of air that needs to be conditioned, necessitating additional BTUs.
- Sun Exposure: Rooms with large windows or those that receive direct sunlight may require a higher BTU rating.
- Insulation Quality: Well-insulated spaces retain climate better and may need fewer BTUs compared to poorly insulated areas.
Common Sizing Mistakes to Avoid
Many homeowners mistakenly choose the wrong size unit due to misinformation or neglecting key factors. Common mistakes include:
- Ignoring room usage patterns; if the room is seldom used, a smaller unit may suffice.
- Failing to account for heat-generating appliances or equipment present in the room.
- Not considering the overall insulation and air leakiness of the building.
Installation Location Considerations
When installing a mini split AC system, the location of the indoor and outdoor units is crucial for optimal performance. Key considerations include:
- Indoor Unit Placement: Install indoor units where air can circulate freely without obstructions. Avoid areas where furniture or drapes could block airflow.
- Outdoor Unit Placement: Ensure the outdoor unit is located in a shaded area, if possible, to enhance efficiency and longevity. Proper clearance around the unit is essential for airflow.
- Distance Between Units: Keep the indoor and outdoor units within a proximity that allows the refrigerant lines to connect easily, avoiding excessive bends and length.
Installation Process for Mini Split Systems
The installation of a mini split system can either be a DIY project or handled by professionals. Understanding the process can help you decide which route to take.
DIY Installation vs. Professional Help
While DIY installation might save money, it requires technical skill and knowledge. Consider the following:
- DIY: Ideal for those with HVAC or plumbing knowledge; requires careful attention to detail and local codes.
- Professional Installation: Highly recommended for those unfamiliar with electrical systems or refrigerant handling. Professionals ensure compliance with regulations and can offer warranties on their work.
Step-by-Step Installation Guide
If you decide to install your mini split system yourself, follow these steps:
- Select the Location: Choose the placement of the indoor and outdoor units carefully.
- Install the Mounting Bracket: Securely mount the indoor unit bracket to the wall.
- Drill a Hole: Create an access hole for the refrigerant lines, drain line, and electrical cable.
- Connect the Refrigerant Lines: Attach the refrigerant and drain lines from the indoor unit to the outdoor unit.
- Mount the Indoor Unit: Place the indoor unit on the bracket and secure it properly.
- Attach the Outdoor Unit: Position the outdoor unit, ensuring it sits level and secure.
- Test the System: Power on the units and check for any leaks or operational issues.
Tools and Equipment Needed for Installation
Here’s a list of essential tools and equipment you might need:
- Drill
- Level
- Pipe cutter
- Wrenches
- Refrigerant gauges
- Vacuum pump
- Safety gear (gloves, goggles)
Maintenance Tips for Mini Split AC Systems
Regular maintenance is crucial for maximizing the lifespan and efficiency of your mini split AC system. Failing to conduct routine checks can lead to significant system inefficiencies.
Regular Cleaning and Filter Replacement
To maintain optimal air quality and system efficiency, perform regular cleaning:
- Clean Filters: Check and clean the filters at least once a month, especially during peak usage seasons.
- Dust Indoor Units: Wipe down the indoor units to remove dust and debris that may accumulate.
- Inspect & Clean Outdoor Unit: Remove leaves and debris to ensure proper airflow to the outdoor unit.
Troubleshooting Common Issues
If your mini split system isn’t performing well, consider these common issues:
- Check if filters are clogged and need cleaning.
- Examine the refrigerant levels; low refrigerant may indicate a leak.
- Make sure the remote control batteries are functional and that no settings have been inadvertently changed.
End of Season Shutdown Procedures
Properly shutting down your mini split system at the end of the season can help prevent issues during storage:
- Clean Before Shutdown: Remove dust from the indoor and outdoor units.
- Reset to Standby: Set the system to standby mode after cleaning.
- Cover Outdoor Unit: If necessary, cover the outdoor unit to protect it from harsh weather conditions.
Future Trends in Mini Split Systems
As technology evolves, mini split systems are also advancing in remarkable ways. The future holds several exciting trends that may redefine climate control.
Technological Innovations in 2026
Recent innovations in mini split technology include:
- Inverter Technology: Allows for variable speeds in compressors, enhancing efficiency and reducing noise.
- Advanced Filtration: New filtration systems that minimize allergens and pollutants in the air.
- Enhanced Controls: Modern units come with smart technology for remote control and scheduling via smartphone apps.
Smart Home Integration for Better Efficiency
More homes are incorporating smart technology, and mini splits are no exception. Look for systems that offer:
- Smart Thermostats: Integrate with home automation systems to optimize energy use.
- Remote Monitoring: Track the performance and efficiency of your unit through dedicated apps.
Predictions for Energy Regulations and Efficiency Standards
Anticipate stricter energy regulations aimed at reducing environmental impact. Manufacturers may need to:
- Develop higher SEER-rated units to comply with new standards.
- Innovate for more sustainable refrigerant options that pose less harm to the ozone layer.
What are the downsides of a mini split AC system?
While mini split systems offer numerous benefits, some downsides include:
- Higher upfront costs compared to traditional systems; however, long-term savings on energy bills may offset this.
- Requires professional installation for optimal performance, which may add to costs.
- Potential need for multiple units in larger homes, which can increase overall expenses.
What is the typical cost of installing a mini split system?
The installation cost for a mini split system can vary widely based on factors such as:
- Size and capacity of the unit
- Number of indoor units required
- Complexity of the installation site
On average, homeowners can expect to pay anywhere from $3,000 to $5,000 for a complete installation.
Why is my electric bill so high with mini split?
While mini split systems are generally energy-efficient, high electric bills may result from:
- Improper sizing, leading to overworking the unit.
- Neglected maintenance, such as dirty filters.
- Running the unit at extreme temperatures that demand more energy.